
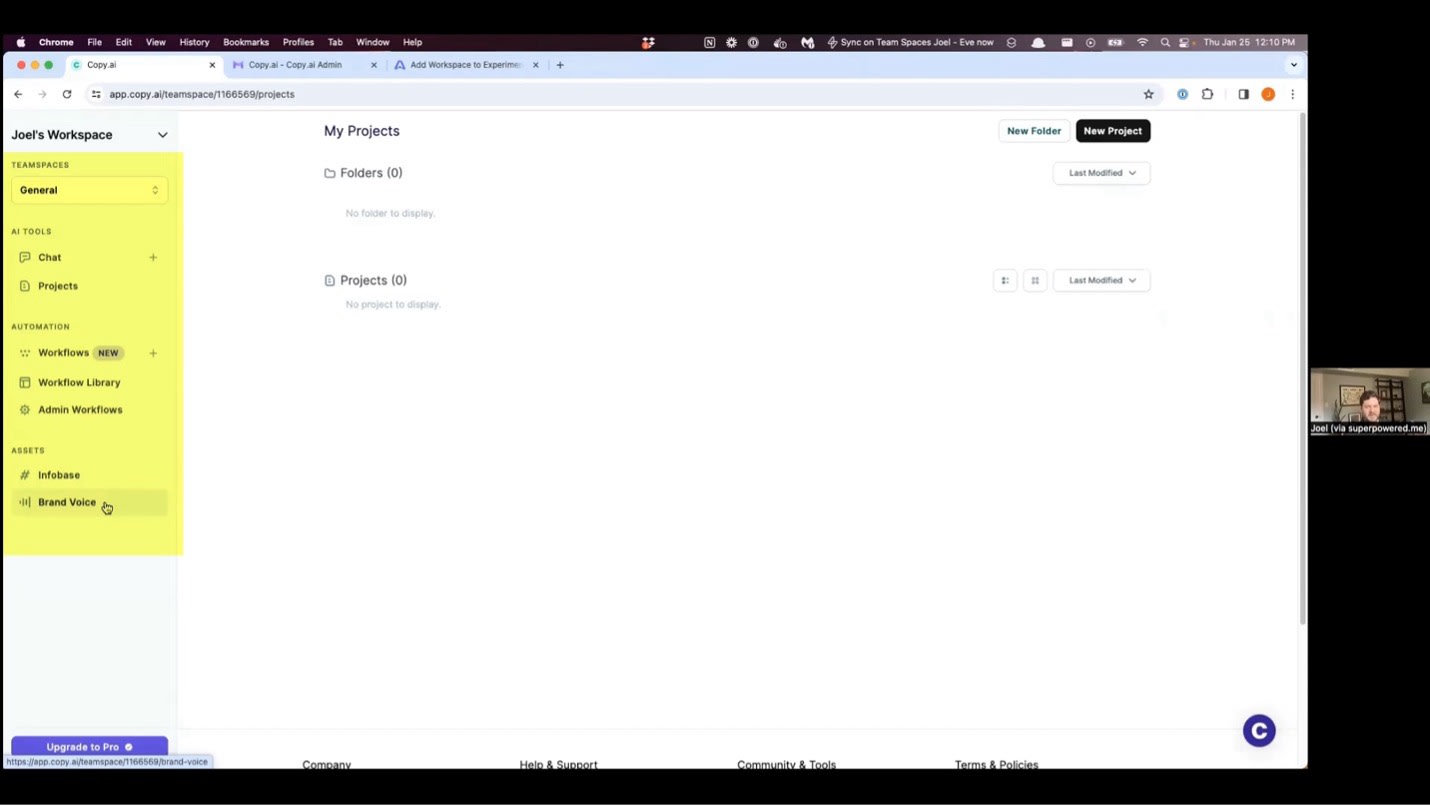
TEAMSPACES
The teamspace functionality is introduced through a dropdown menu, which displays two distinct spaces: 'General' and 'Personal'. When a user invites others to their workspace, the invitees are automatically added to the 'General' teamspace. Additionally, each member is allotted a 'Personal' teamspace where they can work on drafts or individual projects without sharing them with the entire team or overcrowding the 'General' team space with personal items.
Initially, users find themselves in the 'General' teamspace, where they have the option to start a new chat or project. As part of the demonstration, a new project is created where the AI is prompted to write a poem. The resulting 'Spring Poem' is then displayed, showcasing the AI's capability to generate creative content.
Returning to the home screen, the newly created 'Spring Poem' project is visible within the 'General' teamspace. However, upon switching to the 'Personal' teamspace, the 'Spring Poem' is no longer present, indicating that it resides exclusively in the 'General' space. The 'Personal' space contains projects that had previously created for the purposes of this walkthrough.
We can observe the segmentation of items between teamspaces, which allows for efficient organization and collaboration. Should the need arise to share a project with team members, one can easily select the project and use the "move to teamspace" function to relocate it to a different teamspace. This action would prominently display the moved project on the front page of the selected teamspace. As demonstrated, we moved a project from the "general" team space to another, highlighting the flexibility of managing projects within these collaborative environments.
Creating a new teamspace is straightforward; one can name it and select the appropriate privacy setting. Currently, there are two privacy levels available: public and private. A public teamspace is visible to anyone in the workspace, appearing in the dropdown menu where they can join freely. This setting is ideal for fostering a collaborative and open atmosphere. In contrast, a private teamspace remains hidden in the dropdown menu from non-members, providing a clutter-free user interface and ensuring that only relevant team members have access to sensitive projects.

After deciding on a public setting for our demonstration, we proceed to create the new teamspace. Upon creation, we are redirected to our newly formed "branding" teamspace, which is currently empty, ready for new projects to be added.
Additionally, we will delve into further settings and options that enhance the functionality and user experience within teamspace. These settings allow for a more customized and controlled environment, catering to the specific needs of the team and the nature of the projects being undertaken.
In the updated teamspace interface, there's a convenient menu located next to the list of options that allows users to adjust settings. Within this menu, we can observe and alter the name and type of the teamspace, as well as remove it if necessary to maintain organization.
Additionally, there are membership options available. These options provide the flexibility to invite new members to the team space, whether they are part of your existing workspace or external. Upon inviting new members, you have the discretion to assign different access levels according to their roles and responsibilities. The access levels range from 'collaborator', which is the most basic level, to 'editor', and up to 'admin', each with varying degrees of permissions. This hierarchy of access ensures that not everyone has the capability to create extensive workflows, which could potentially incur higher costs. Instead, individuals can be limited to utilizing the existing tools to perform their tasks effectively.
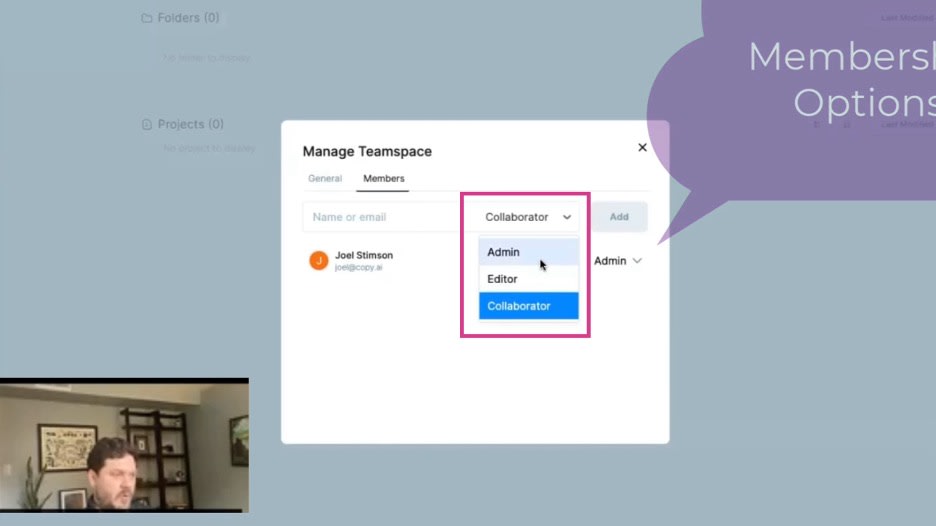
Managing who gets what level of access is crucial in maintaining the security and efficiency of the teamspace. This can be further controlled through the 'add members' feature, which redirects to a second tab dedicated to this purpose. Here, the process of inviting and assigning roles to new members can be completed seamlessly.
Overall, these features contribute to a streamlined process for creating and managing a new team space, ensuring that each member has the appropriate level of access to fulfill their role within the team.


